


How to deploy a Go app on Railway | Go.


Recently I had the opportunity to deploy my first app on Railway. And it wasn't hard, the process was straightforward.
In this article, we will develop a QR code generator app like in this tutorial, but using Gorilla/Mux instead and deploying it on Railway.
The app is simple, it will serve an HTML file to enter a text and convert it into a QR code.
Prerequisites:
- GitHub account
- Go basic knowledge
First, we open our terminal to create a directory and a Go module for our project:
mkdir qrgenerator
cd qrgenerator
go mod init <module name>
Then we create the main.go file.
We download the following packages:
go get github.com/gorilla/mux
go get github.com/gorilla/handlers
go get github.com/spf13/viper
go get github.com/boombuler/barcode
go get github.com/boombuler/barcode/qr
main.go
package main

import (

    "image/png"
    "log"
    "net/http"
    "encoding/json"

    "github.com/gorilla/handlers"
    "github.com/gorilla/mux"

    "os"
    "io/ioutil"
    "fmt"
    "text/template"


    "github.com/spf13/viper"
    "github.com/boombuler/barcode"
    "github.com/boombuler/barcode/qr"
)

type Page struct {
    Title string
}

func homeHandler(w http.ResponseWriter, r *http.Request) {
    p := Page{Title: "QR Code Generator"}

    t, err := template.ParseFiles("generator.html")
    if err != nil {
        log.Println("Problem parsing html file")
    }

    t.Execute(w, p)
The homeHandler function will serve the HTML file.
We use template.ParseFiles to create a new Template and parse the "generator.html" file.
Then, we use Execute to apply the file parsed the title("QR Code Generator") and write the output to "w" (http.ResponseWriter).
More about text/template package here.
func qrView(w http.ResponseWriter, r *http.Request) {
    dataString := r.FormValue("dataString")


    qrCode, err := qr.Encode(dataString, qr.L, qr.Auto)
     if err != nil {
          fmt.Println(err)
      } else {
          qrcode, err = barcode.Scale(qrCode, 128, 128)
             if err != nil {
            fmt.Println(err)
            } else {
                png.Encode(w, qrCode)
            }
      }
}
The qrView function will take the text sent through the form in the HTML page, and encode it using qr.Encode.
We pass toqr.Encode, the string to encode. An error correction level, in this case, "L". And the "Encoding" as a third argument.
According to its doc "ErrorCorrectionLevel indicates the amount of "backup data" stored in the QR code".
const (
    // L recovers 7% of data
    L ErrorCorrectionLevel = iota
    // M recovers 15% of data
    M
    // Q recovers 25% of data
    Q
    // H recovers 30% of data
    H
)
And "Encoding" is the encoding mode for QR codes.
const (
    // Auto will choose the best matching encoding
    Auto Encoding = iota
    // Numeric encoding only encodes numbers [0-9]
    Numeric
    // AlphaNumeric encoding only encodes uppercase letters, numbers and  [Space], $, %, *, +, -, ., /, :
    AlphaNumeric
    // Unicode encoding encodes the string as utf-8
    Unicode
)
We use barcode.Scale to define the QR code's width and height.
The png.Encode writes the QR code to httpResponseWriter in PNG format.
More about the image/png package here.
func main() {

    viper.SetConfigFile(".env")
    viper.ReadInConfig()
    viper.AutomaticEnv()

    port := fmt.Sprint(viper.Get("PORT"))

    r := mux.NewRouter().StrictSlash(true)

    r.HandleFunc("/", homeHandler).Methods("GET")
    r.HandleFunc("/generator/", qrView).Methods("POST")

    loggedRouter := handlers.LoggingHandler(os.Stdout, r)


    log.Println(http.ListenAndServe(":"+port, loggedRouter))
}
In the main function, we initialize a router instance with mux.NewRouter() and define our URIs with their respective handlers and HTTP methods using the HandleFunc function.
We initialize a LoggingHandler, this allows us to have logs every time a request is made to our server.
Then, we pass the port that is read from the .env file and loggedRouter as arguments to ListenAndServe.
generator.html
<!DOCTYPE html>
<html lang="en">
    <head>
        <meta charset="utf-8">
        <meta name="viewport" content="width=device-width, initial-scale=1">
        <title>QR Generator</title>
        <link href="https://cdn.jsdelivr.net/npm/bootstrap@5.2.0/dist/css/bootstrap.min.css" rel="stylesheet" integrity="sha384-gH2yIJqKdNHPEq0n4Mqa/HGKIhSkIHeL5AyhkYV8i59U5AR6csBvApHHNl/vI1Bx" crossorigin="anonymous">
    </head>


    <body>

        <div class= "qr_generator">
            <h1>{{.Title}}</h1>
            <div>Please enter the string you want to QRCode.</div>
            <form action="generator/" method=post>
                <input type="text" name="dataString">
                <input type="submit" value="Submit">
            </form>
        </div>
    </body>

    <style>
        body {
         background-color: #DEB887;
         font-family: 'Poppins', sans-serif;

        }

        .qr_generator {

          color: #F0FFFF;
          text-align: center;
          font-family: sans-serif;
        }

    </style>

</html>
We run this server on our local machine to be sure it works.
go run main.go
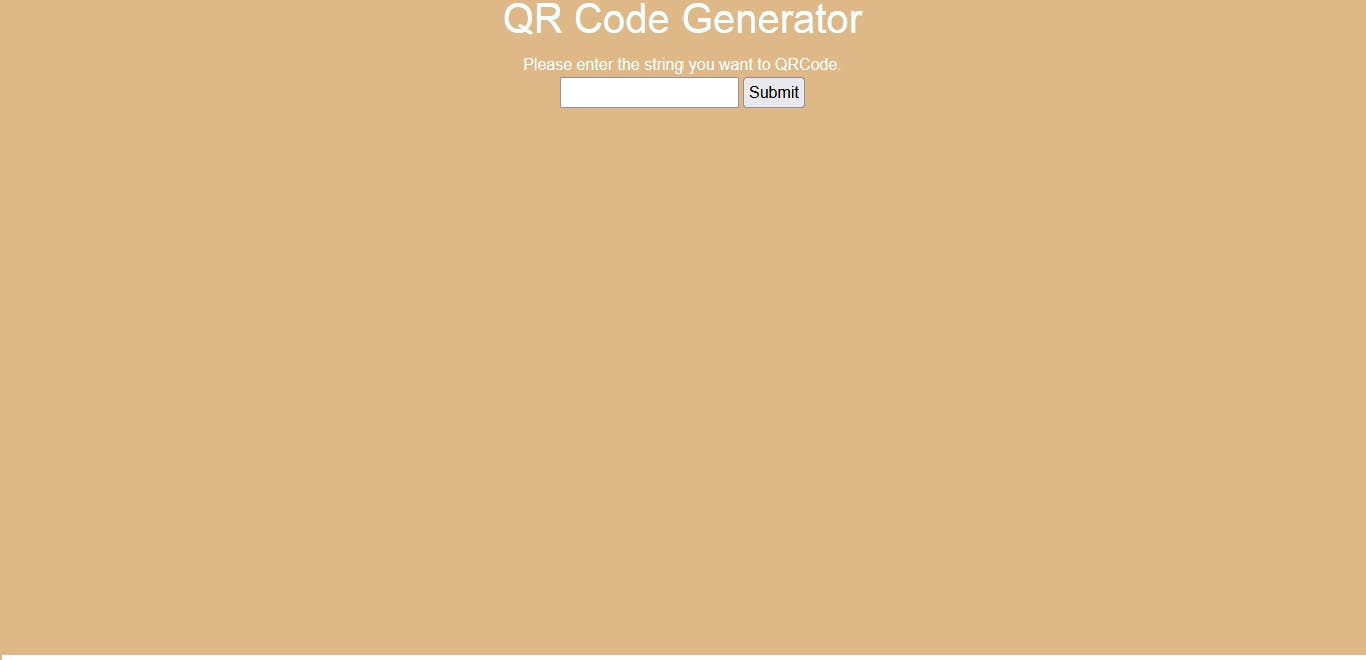
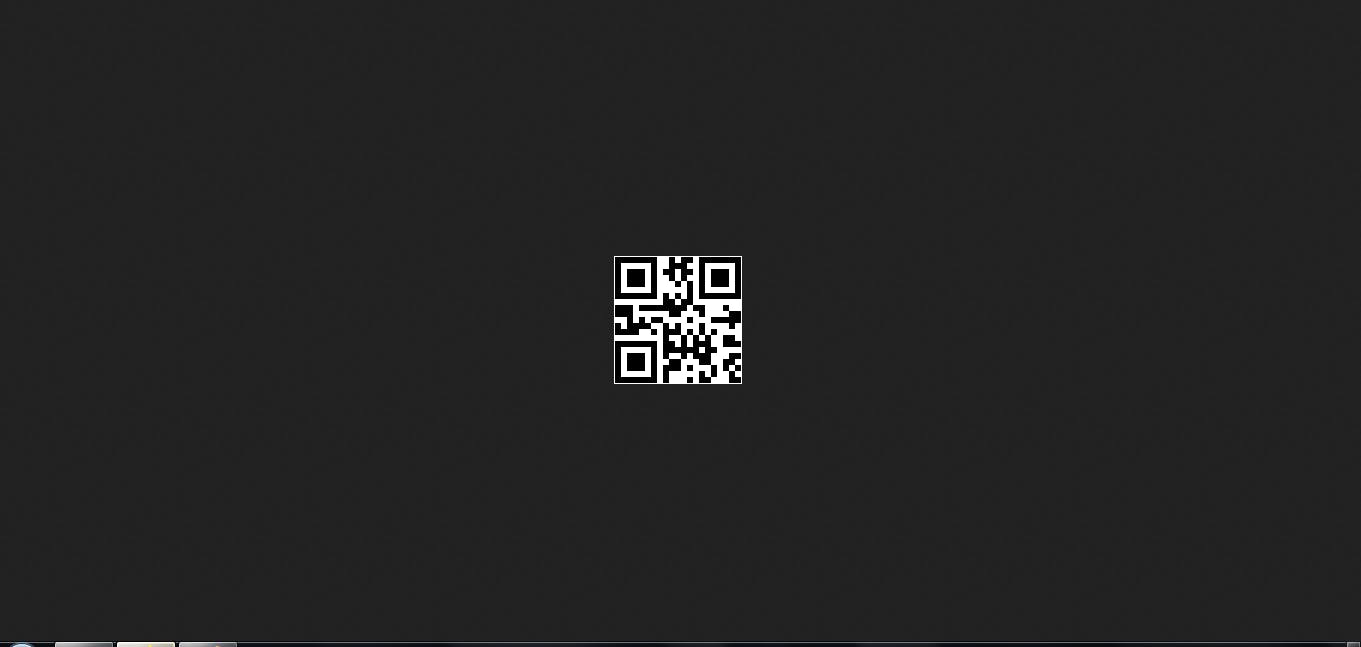
If everything is ok, we will be able to see this page and generate a QR code after we write something in the text field and press the "Submit" button.
Before we upload our app to a GitHub repo, we need to change our configuration file. Railway allows us to set environment variables directly from its dashboard. To access these variables from our code we change ".env" for "ENV".
viper.SetConfigFile("ENV")
Complete main.go file.
main.go
package main

import (

    "image/png"
    "log"
    "net/http"
    "encoding/json"

    "github.com/gorilla/handlers"
    "github.com/gorilla/mux"

    "os"
    "io/ioutil"
    "fmt"
    "text/template"


    "github.com/spf13/viper"
    "github.com/boombuler/barcode"
    "github.com/boombuler/barcode/qr"
)

type QrText struct {
    Text string `json:"text"`
}

type Page struct {
    Title string
}

func main() {

    viper.SetConfigFile("ENV")
    viper.ReadInConfig()
    viper.AutomaticEnv()
    port := fmt.Sprint(viper.Get("PORT"))

    r := mux.NewRouter().StrictSlash(true)


    r.HandleFunc("/", homeHandler).Methods("GET")
    r.HandleFunc("/generator/", viewCodeHandler).Methods("POST")

    loggedRouter := handlers.LoggingHandler(os.Stdout, r)

    log.Println(http.ListenAndServe(":"+port, loggedRouter))
}


func homeHandler(w http.ResponseWriter, r *http.Request) {
    p := Page{Title: "QR Code Generator"}

    t, err := template.ParseFiles("generator.html")
    if err != nil {
        log.Println("Problem parsing html file")
    }

    t.Execute(w, p)
}

func qrView(w http.ResponseWriter, r *http.Request) {
    dataString := r.FormValue("dataString")

    qrCode, err := qr.Encode(dataString, qr.L, qr.Auto)
    if err != nil {
          fmt.Println(err)
      } else {
          qrCode, err = barcode.Scale(qrCode, 128, 128)
             if err != nil {
            fmt.Println(err)
            } else {
                png.Encode(w, qrCode)
            }
      }

}
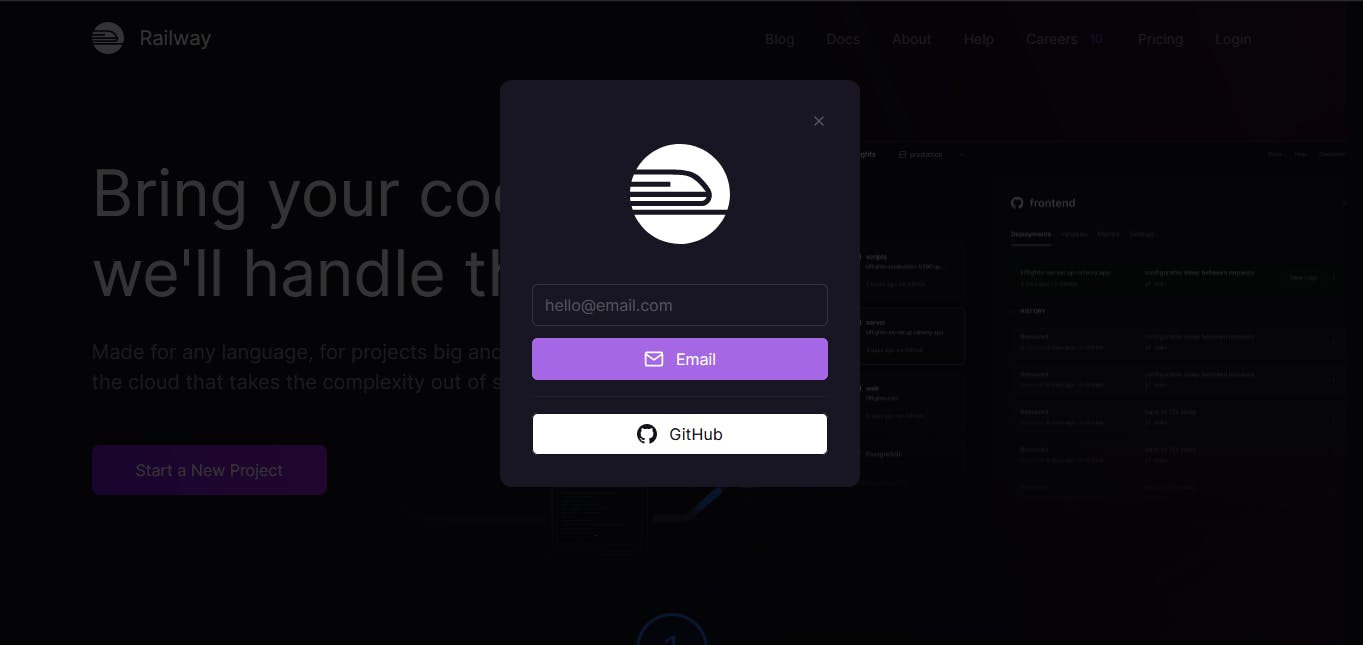
Now, to deploy this app on Railway, we need to go to the Railway page and create an account.
We press the "Login" button and select to login with a Github account.
Then we press the "New Project" button and select "Deploy from GitHub repo".
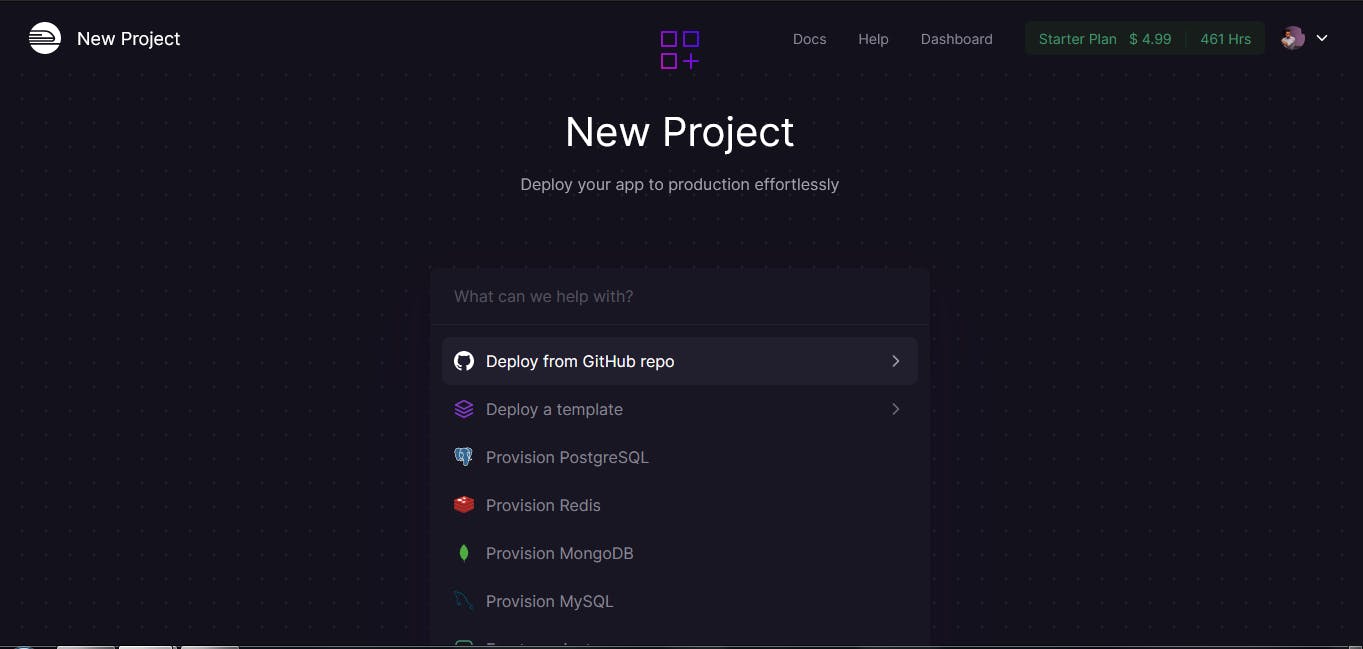
And select the repo we want to deploy, in this case, the app we just develop.
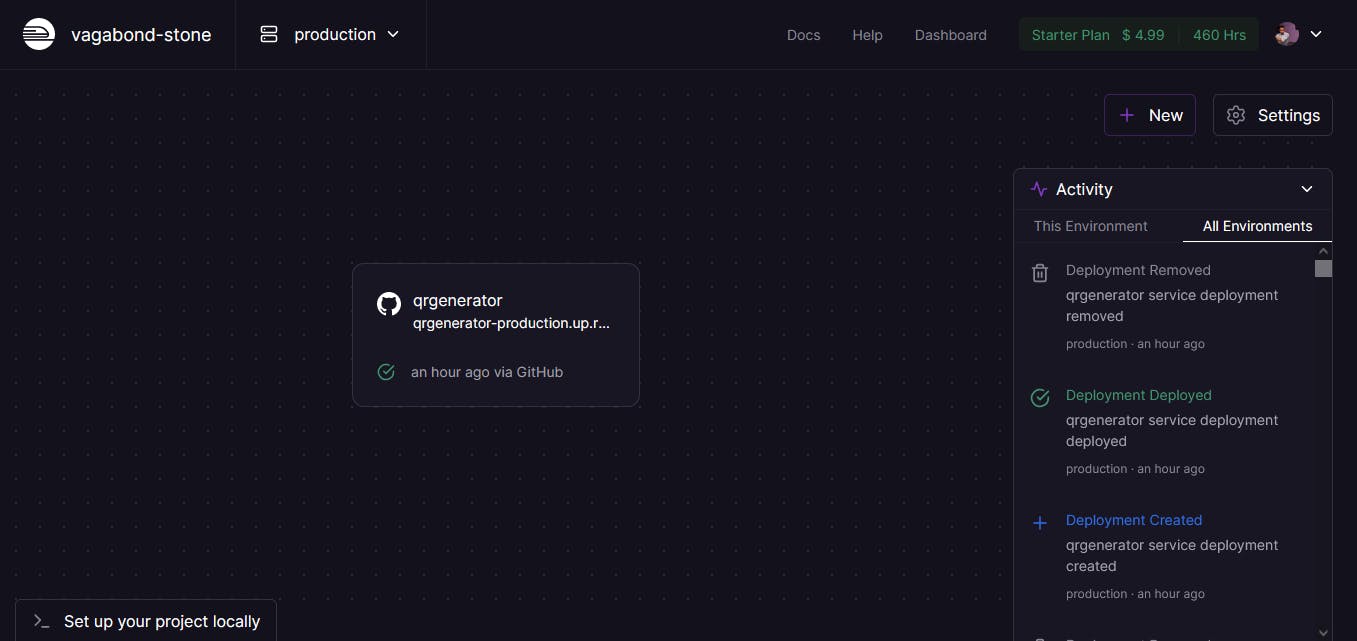
Now, we click on our project's card.
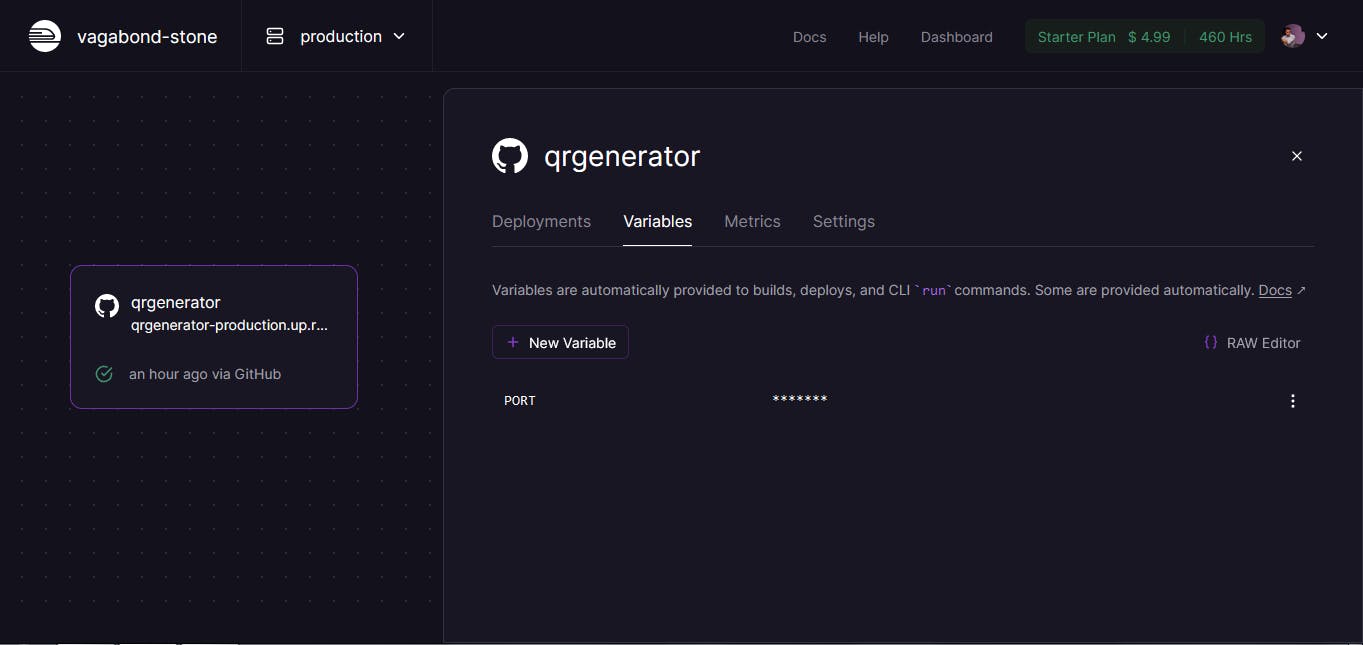
We select "Variables" and press the "New Variable" button to set our environment variables.
Every time we make changes in our repo, the app will be redeployed.
Conclusion
This is the first project I deployed on Railway and honestly, I really like to be able to deploy from a Github repository. I can compare it with Heroku because I didn't use Heroku, but I read that the process to deploy a project is similar.
Thank you for taking the time to read this article.
If you have any recommendations about other packages, architectures, how to improve my code, my English, or anything; please leave a comment or contact me through Twitter, or LinkedIn.
The source code is here.