Getting Started with Hanami-API | Ruby

I am a backend developer from Venezuela. I enjoy writing tutorials for open source projects I using and find interesting. Mostly I write tutorials about Python, Go, and Rust.
DISCLAIMER: This is a very basic article about Hanami::API, showing how to perform CRUD operations without a database. I'm very new to Ruby, probably my code is not idiomatic.
Hanami-API is a lightweight and fast Ruby framework for building HTTP APIs. It is a part of the Hanami web framework, which is made up of smaller, single-purpose libraries that can be used independently or together in a Hanami application. The framework provides a simple and effective way to build and deploy HTTP APIs in Ruby, allowing developers to create endpoints with different HTTP methods, extract parameters from the URI, and parse the payload of incoming requests. In this article, we will explore how to get started with Hanami-API by creating endpoints for a simple to-do list application.
Hanami
Hanami is a full-stack Ruby web framework. It's made up of smaller, single-purpose libraries.
Hanami is made of the following libraries:
Hanami::Router - Rack-compatible HTTP router for Ruby
Hanami::Controller - Full-featured, fast and testable actions for Rack
Hanami::View - Presentation with a separation between views and templates
Hanami::Helpers - View helpers for Ruby applications
Hanami::Mailer - Mail for Ruby applications
Hanami::Assets - Assets management for Ruby
According to its README, these components are designed to be used independently or together in a Hanami application.
Hanami::API
It's a minimal, extremely fast, lightweight Ruby framework for HTTP APIs.
Requirements
- Ruby 3.0+ installed.
Installation
First, we create a folder for our project. And in it, we create two files, gemfile and config.ru.
Inside gemfile file, we write the following lines:
gem "hanami-api"
gem "puma"
Then, inside config.ru, we write the following code:
# frozen_string_literal: true
require "bundler/setup"
require "hanami/api"
class App < Hanami::API
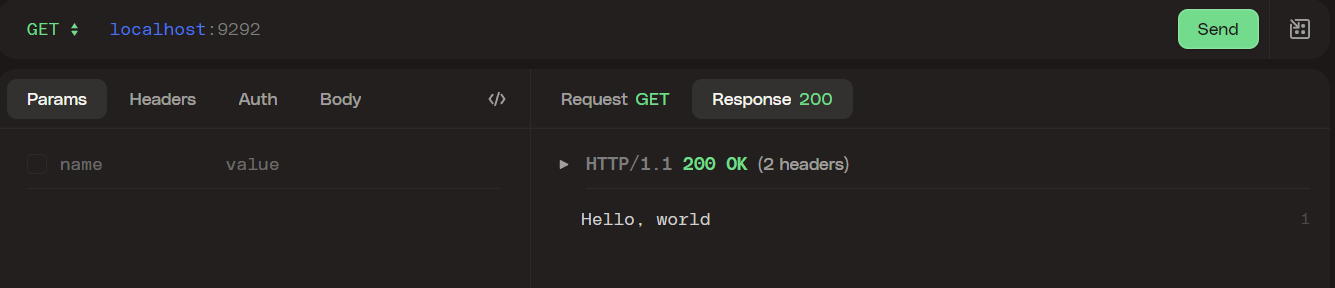
get "/" do
"Hello, world"
end
end
run App.new
Then, we run bundle exec rackup in the command line.

Creating the endpoints
We create a new file, app.rb, to write all our endpoints.
We will have 5 endpoints.
class App < Hanami::API
list_tasks = [
{"id": 1, "title": "Buy almonds"},
{"id": 2, "title": "Buy Nuts"}
]
get "/" do
"Hello, world"
end
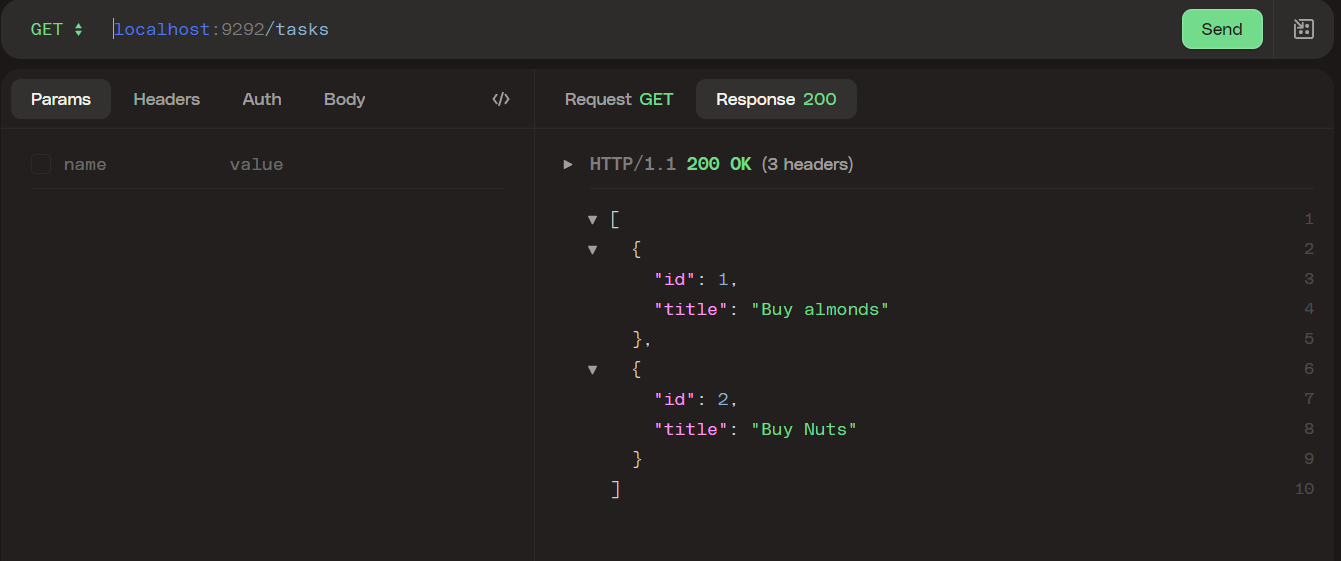
get "/tasks" do
json list_tasks
end
In app.rb file, we create the App class. In this class, we will put all our endpoints. We create an array with 2 hashmaps with items to buy.
We define a GET endpoint with the URI /tasks. This endpoint will show all the elements in the array. We use the json method to send the response in JSON format.
We have to make a few changes in the config.ru file. We replace the App class with require_relative 'app'.
require "bundler/setup"
require "hanami/api"
require "hanami/middleware/body_parser"

require_relative 'app'

run App.new
Now, we run bundle exec rackup .
Then we go try the endpoints we just create to see if have the response we expect.
POST endpoint
use Hanami::Middleware::BodyParser, :json
class App < Hanami::API
list_tasks = [
{"id": 1, "title": "Buy almonds"},
{"id": 2, "title": "Buy Nuts"}
]
...
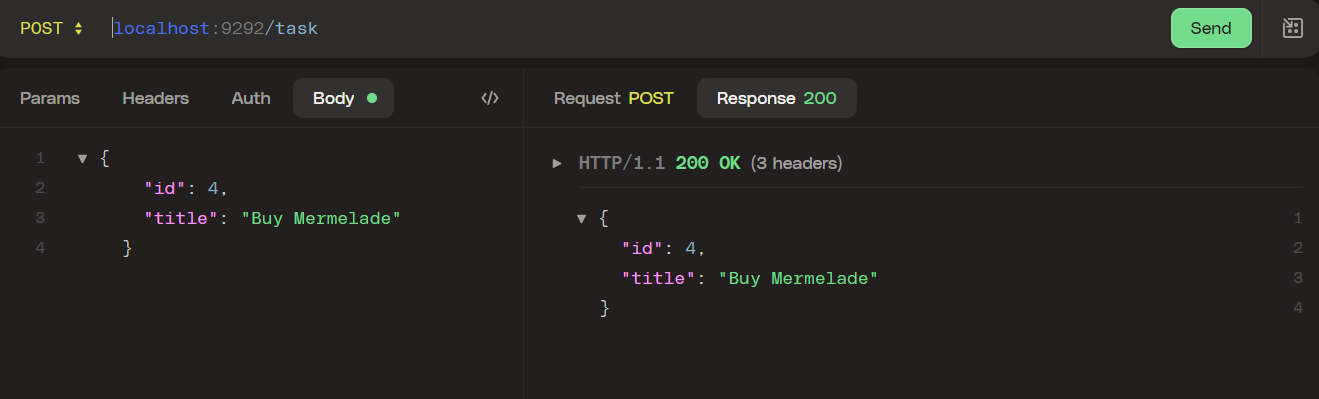
post "/task" do
list_tasks.push(params)
json params
end
end
Here, we define a POST endpoint with the URI /task.
To extract the payload from a POST request, we have to put Hanami::Middleware::BodyParser, :json on top of our file, to parse the payload of the incoming request.
The Hanami::Middleware::BodyParser is shipped by hanami-router which is a dependency of hanami-API. So we don't need to install an additional gem.
We extract the payload with params and push it to the array.
GET endpoint
class App < Hanami::API
....
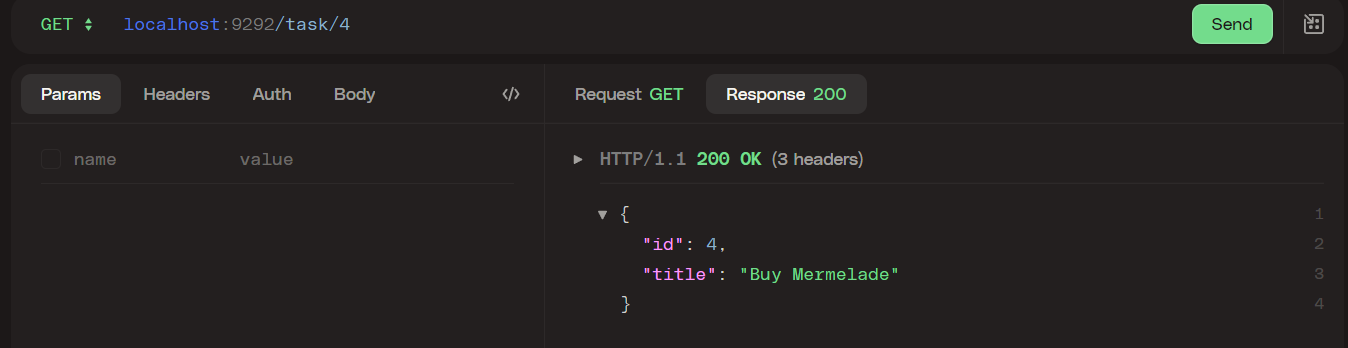
get "/task/:id" do
id = params[:id]
task = list_tasks.find{|x| x[:id] == id.to_i}
if task == nil
json ({status: status(404),
message: "Entry #{params[:id]} not found"
})
else
json task
end
end
end
This GET endpoint can return an item by its ID.
We extract the parameter from the URI with params[:id]. Then we look in the array and Hashmap with the ID that matches and send it as JSON. If there is no hashmap with the ID that matches, we return the message "Entry #{params[:id]} not found" and the status code 404.
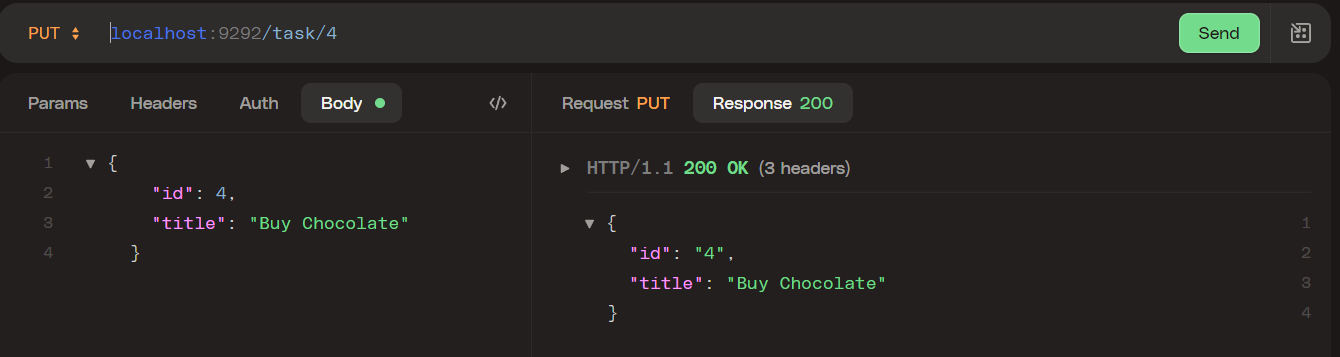
PUT endpoint
put "/task/:id" do
        id = params[:id]
        task = list_tasks.find{|x| x[:id] == id.to_i}

        if task == nil
            json ({status: status(404), error: "not_found", message: "Entry #{params[:id]} not found"})

        else
            json list_tasks[list_tasks.rindex(task)] = params

        end
    end
Here we define a PUT endpoint to update an element in our array.
We extract the parameter from the URI with params[:id]. Then we look in the array and Hashmap with the ID that matches. Then, we the rindex() method to have the index of the hashmap and update it with the payload.
If there is no hashmap with the ID that matches, we return the message "Entry #{params[:id]} not found" and the status code 404.
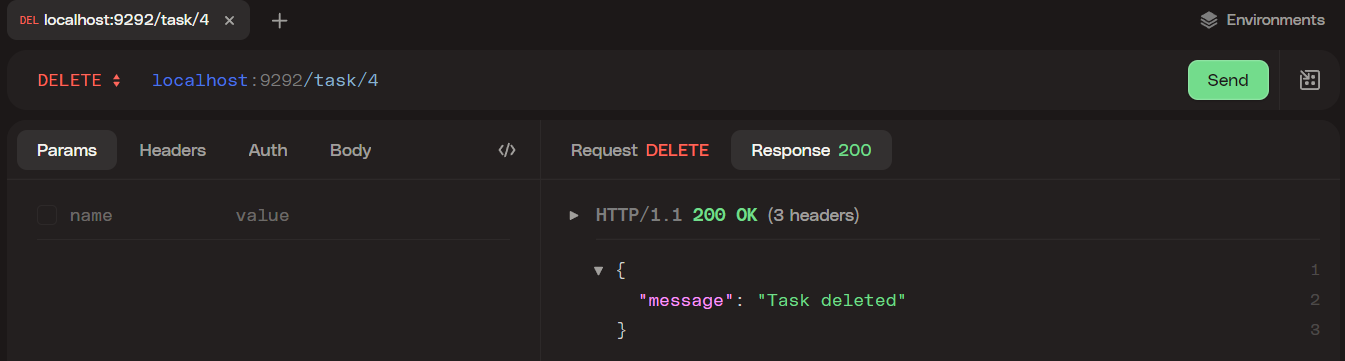
DELETE endpoint
delete "/task/:id" do
        id = params[:id]
        task = list_tasks.find{|x| x[:id] == id.to_i}

        if task == nil
            json ({status: status(404), error: "not_found", message: "Entry #{params[:id]} not found"})

        else

            list_tasks.delete_at(list_tasks.rindex(task))
            json(message: "Task deleted")
        end
    end
For the DELETE endpoint, we repeat the same operation of looking in the array for the hashmap with the ID that matches the :id parameter.
Then, we use the delete_at() method to delete the item by its index.
Conclusion
In conclusion, Hanami-API is a lightweight, fast Ruby framework for building HTTP APIs. It's made up of smaller, single-purpose libraries that can be used independently or together in a Hanami application. With Hanami-API, it's easy to create endpoints with different HTTP methods, extract parameters from the URI, and parse the payload of incoming requests. Hanami-API provides a simple and effective way to build and deploy HTTP APIs in Ruby.
Thank you for taking the time to read this article.
If you have any recommendations about other packages, architectures, how to improve my code, my English, or anything; please leave a comment or contact me through Twitter, or LinkedIn.
The source code is here.


