Running containers with Podman.

I am a backend developer from Venezuela. I enjoy writing tutorials for open source projects I using and find interesting. Mostly I write tutorials about Python, Go, and Rust.
DISCLAIMER: This is not a comprehensive guide about Podman.
In this article, we are going to create an image container from a Dockerfile. And run a Django application with Podman.
We will not build an application from scratch. We will focus on using Podman to create an image container for our web application and run a container.
Also, you should know what a Dockerfile, images and containers are.
We will create an image for this Django Application. You can clone it or create a Django project from scratch. And copy/paste the Dockerfile and requirements.txt file.
Requirements
WSL2 installed (Windows users).
Python installed.
Podman installed.
Buildah installed.
What is Podman?
According to its documentation:
Podman is a daemonless, open source, Linux native tool designed to make it easy to find, run, build, share and deploy applications using Open Containers Initiative (OCI) Containers and Container Images. Podman provides a command line interface (CLI) familiar to anyone who has used the Docker Container Engine.
Its README file says Podman is a tool for managing containers and images, and volumes mounted into those containers. And pods made from groups of containers.
Podman runs containers on Linux. But it can be used on Mac and Windows systems using a Podman-managed virtual machine.
Installation
To make this article shorter, I will skip the installation of Podman on Linux, Windows and MacOS. You can refer to the Podman Installation Instructions. It offers a detailed explanation of how to install Podman on Windows MacOS.
For Ubuntu users and WSL2 users with Ubuntu installed, this is the command to install Podman:
sudo apt-get -y update
sudo apt-get -y install podman
Project structure
django_authentication/
    django_authentication/
    user_auth/
    Dockerfile
    manage.py
    requirements.txt
Dockerfile
RUN mkdir /code
WORKDIR /code
RUN pip install --upgrade pip
COPY requirements.txt /code/

RUN pip install -r requirements.txt
COPY . /code/

EXPOSE 8000

CMD ["python", "manage.py", "runserver", "0.0.0.0:8000"]
Creating an image
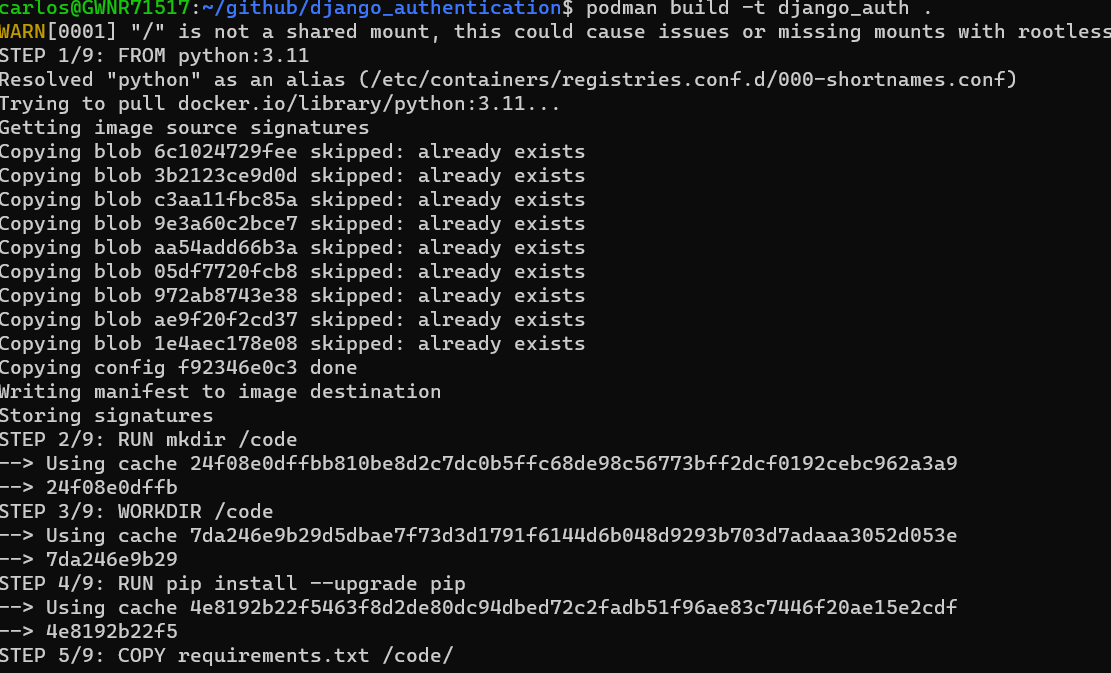
Inside our project directory, we run the build command to build an image from a Dockerfile.
podman build -t django_auth .
According to its documentation:
podman buildBuilds an image using instructions from one or more Containerfiles or Dockerfiles and a specified build context directory. A Containerfile uses the same syntax as a Dockerfile internally. For this document, a file referred to as a Containerfile can be a file named either ‘Containerfile’ or ‘Dockerfile’.The build context directory can be specified as the http(s) URL of an archive, git repository or Containerfile.
If no context directory is specified, then Podman will assume the current working directory as the build context, which should contain the Containerfile.
The --tag or -t specifies which name Podman will assign to the resulting image if the build process completes. If we don't include a name, the registry will prepend the name localhost to the image name.
We can run podman images command to display a list of locally stored images, their names and their IDs.

There are more details in its documentation.
Running a Container
podman run --rm -p 8123:8000 django_buildah
The documentation says podman run runs a process in a new container. With its filesystem, its network and its isolated process tree.
Also, we use --rm to automatically remove the container when it exits. And use -p or --port to map the Django app port 8000 to the host port 8123.

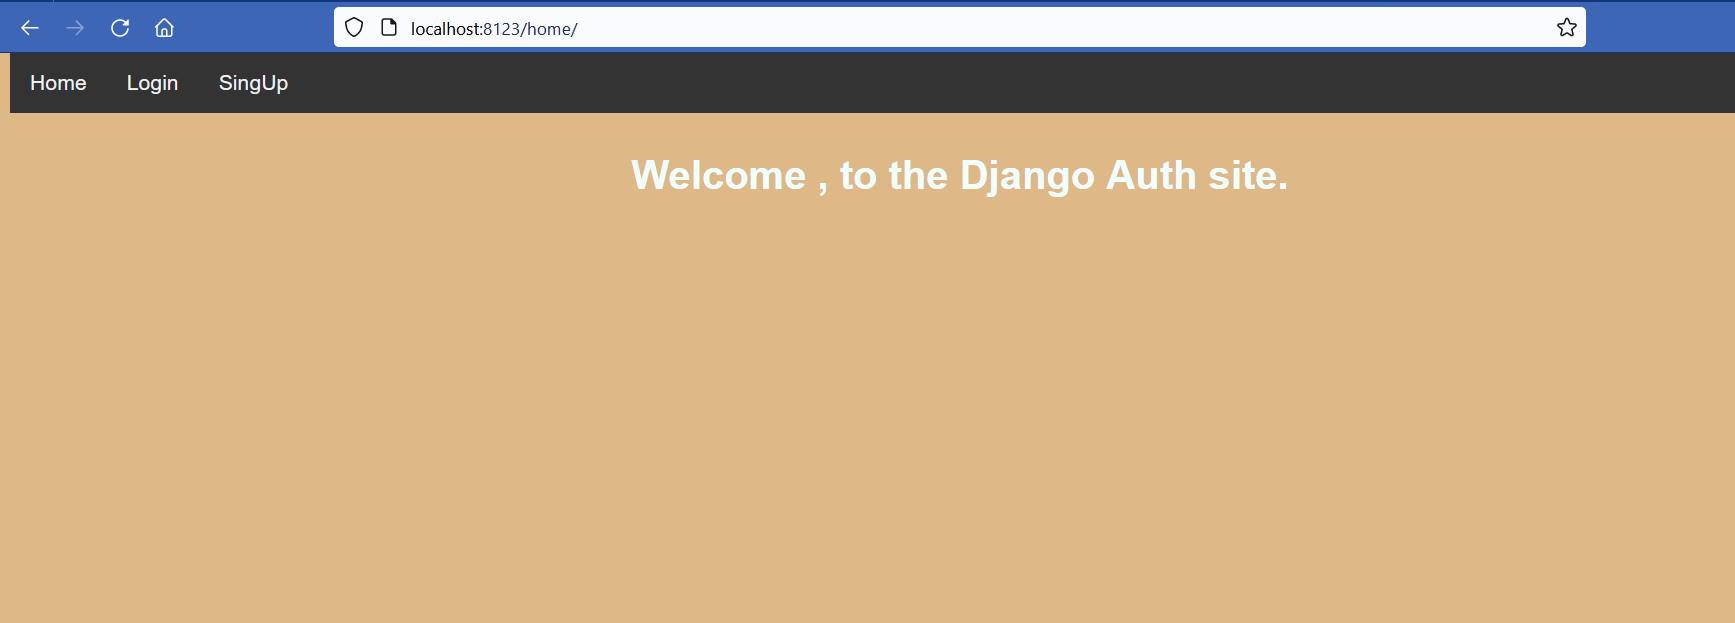
For this app, we have to go to localhost:8123/home to see a page.
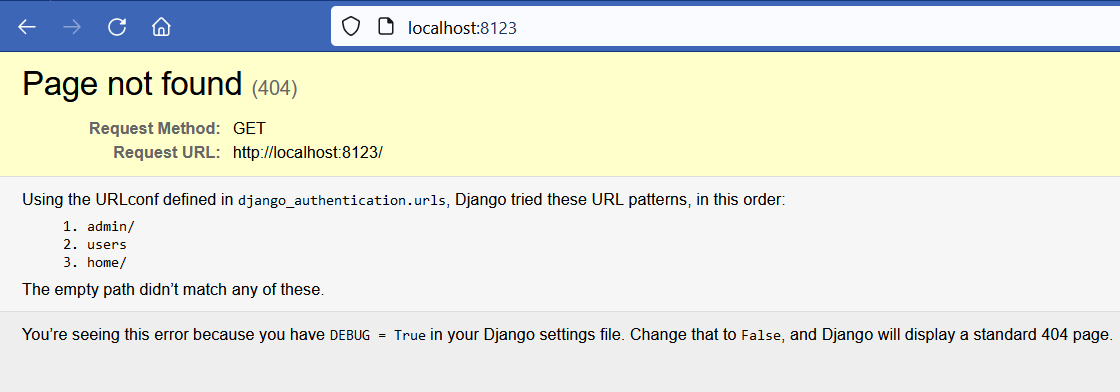
If we go to localhost:8123, you will see a Page Not Found page, but still means the container is running.
If you used a black Django project, you will the Django Welcome Page.
We can open another terminal and run podman container ls to see a list of running containers on the system.

Deleting an image
We run the podman --rmi <IMAGE NAME> to remove an image container. If we pass the name of the image we are using, Podman will remove it. We can run podman images again and verify the CLI tool removed the image.

Podman removed django_auth.
Conclusion
Podman offers many functions that it will need writing another article to explain them. I didn't try using Podman for running more than one container like we usually do with Compose. But it is something a want to try and write about.
I hope you found this article useful and that it encourages you to try Podman.
Thank you for taking the time to read this article.
If you have any recommendations about other packages, architectures, how to improve my code, my English, or anything; please leave a comment or contact me through Twitter, or LinkedIn.


